

How to clean old coins?
A coin straight out of the ground is often just a brown or green disc covered in soil. That is exactly when you want to know what is on it. The good news: many ordinary, sturdy finds can be cleaned at home with patience and the right tools. With a good magnifier and the right cleaning pencils, dates, coats of arms and legends will start to reappear.
In this guide you will learn step by step how to clean coins you have found, which tools help and how to store them properly afterwards.
First things first: do you think you have found a rare or valuable coin, a silver-plated coin (a silver layer on copper) or a coin that is already falling apart? Then have it assessed before you start cleaning. Even a coin with little monetary value can be historically interesting. How to identify and record a find is explained in our knowledge base: Identify, clean and store metal detecting finds.
What do you need?
- Cleaning pencils to remove dirt and crusts precisely. The set of 4 cleaning pencils (brush pencil, two cleaning pencils and a brass scraper) is a good basic set. Want more choice? The Le Crayon à André set of 6 also includes a fibreglass pencil, scalpel, steel wool pencil and needle.
- An illuminated magnifier so you can see where the dirt ends and the coin begins. The Detect magnifier with stand has a 5x lens for the whole coin, an 11x lens for dates and mint marks, and 12 LED lights.
- A coin holder so your coin does not slip. The mini coin holder (set of 2) clamps coins from 15 to 30 mm, leaving both hands free.
- A cleaning liquid if needed to soften stubborn deposits: The Restorator for copper and bronze, the silver coin cleaner for silver.
- Wax or conservation liquid to protect your coin afterwards.

Want everything in one go? The Detect Restoration Set XL contains the illuminated magnifier, the set of 4 cleaning pencils and microcrystalline wax (150 ml). Bought separately these three products cost €79.85; as a set you pay €69.00.
Look first: soil, patina or corrosion?
Not everything on a coin is dirt. With a magnifier you can quickly see what you are dealing with:
- Loose soil and sand: just dirt. This can come off.
- Hard crusts: soil and corrosion that have caked on. Tackle these step by step.
- Patina: a solid layer in green, brown, red or black. It is often smooth, but on ground finds patina can also be rough or uneven. It belongs to the coin and protects it. Leave the patina in place: a coin with a nice patina is often the best result.
- Light green powder in spots: this may be active corrosion (bronze disease). Do not polish it off, but keep the coin dry. More on this under Storage.
So a green coin is not automatically a problem. The aim is not a shiny coin, but a coin on which you can see everything clearly.
Step 1: remove loose soil
This works for all metals.
- First let the coin dry thoroughly on kitchen paper. Dry soil often comes off by itself.
- Brush away loose soil with the brush end of a cleaning pencil or a soft toothbrush.
- Still a lot of clay on it? Rinse the coin briefly under lukewarm water, with a drop of mild soap if needed, and brush gently.
- Pat it dry and let it dry completely.
Often you can already read the coin quite well now. Happy with it? Then you can go straight to protecting and storing.
Cleaning copper and bronze coins
Copper and bronze coins (duits, farthings, jetons and Roman bronze coins) are the most common finds. They are often covered in hard green or brown crusts.
Softening crusts. For stubborn deposits you can use The Restorator. According to the instructions, place the coin in a sealable container, apply a few drops, close the container and leave it for 12 hours. Then remove the softened deposits with a cleaning pencil or soft brush. No result? Repeat the treatment. Wear gloves while doing this.
Precise cleaning with pencils. Clamp the coin in the coin holder and work under the magnifier. Start gently and only use a firmer tool where needed:
- Brush pencil for loose residue in letters and corners.
- Thick pencil for stuck-on dirt on the surface. The tip is made of brass and steel with a rubber-crystal compound.
- Thin pencil of the same material, with a finer tip for small details such as letters and dates.
- Scalpel pencil or brass scraper for a thicker crust. The scalpel pencil has a copper tip for careful scraping. Work with small, light movements just above the patina.
- Fibreglass pencil for the toughest dirt and verdigris. This pencil is abrasive, so use it briefly and locally.
- Steel wool pencil to give a sturdy coin an even finish at the end. Do not use it on a coin with a nice patina.
Cleaning silver coins
Silver often comes out of the ground in fairly good condition, but under a grey or black tarnish. Older silver coins also often contain some copper, so green spots can appear too.
Softening black tarnish. Use the silver coin cleaner. According to the instructions, apply a few drops, leave for 20 to 30 minutes and rinse with warm water. Remove any residue with a cotton bud. Then do the other side.
Finishing. Silver is soft. So mainly use the brush pencil and the softer cleaning pencils. Test a pencil on the edge first.
A slightly darker tone in the recesses can stay. It adds relief and looks more natural than a fully polished coin.
Gold coins
Gold hardly corrodes at all. Rinse off loose soil with lukewarm water and a soft brush. Do not use pencils or abrasives: gold is soft and scratches easily.
When do you stop?
Stop cleaning when:
- you reach the patina: you come to a solid, hard layer with its own colour;
- scratches or shiny spots appear;
- the surface crumbles or flakes come loose;
- copper appears under the silver (the coin is then probably silver-plated).
Not sure? Take a break and look at the coin again later under the magnifier.
Drying, protecting and storing
Dry thoroughly. After cleaning, let the coin dry for at least a few hours at room temperature, not on a radiator. Moisture left behind causes new corrosion later on.
Protecting. A clean, dry coin can be protected with a thin layer of:
- Microcrystalline wax: apply a small amount, spread evenly, leave for 10 to 15 minutes and buff off the residue with a soft cloth. Gives a soft sheen.
- Le Crayon à André conservation liquid: a 5% solution of Paraloid B-72 that forms a hard, transparent layer. Apply thinly and let it dry. Use it in a well-ventilated room and wear gloves. The layer can be removed again later with acetone.
Only apply wax or conservation liquid to a coin that is completely dry. Do you see light green powder that keeps coming back (bronze disease)? Then a protective layer will not help: store that coin as dry as possible, for example in a closed box with silica gel, and ask for advice.
Storage. Store coins separately so they do not rub against each other, and keep them dry. In the field, a Coin Pad is handy for coins up to 29 mm. At home, coin bags or small boxes with a label work well. Note for each coin where you found it.
Methods from forums: what works and what doesn't?
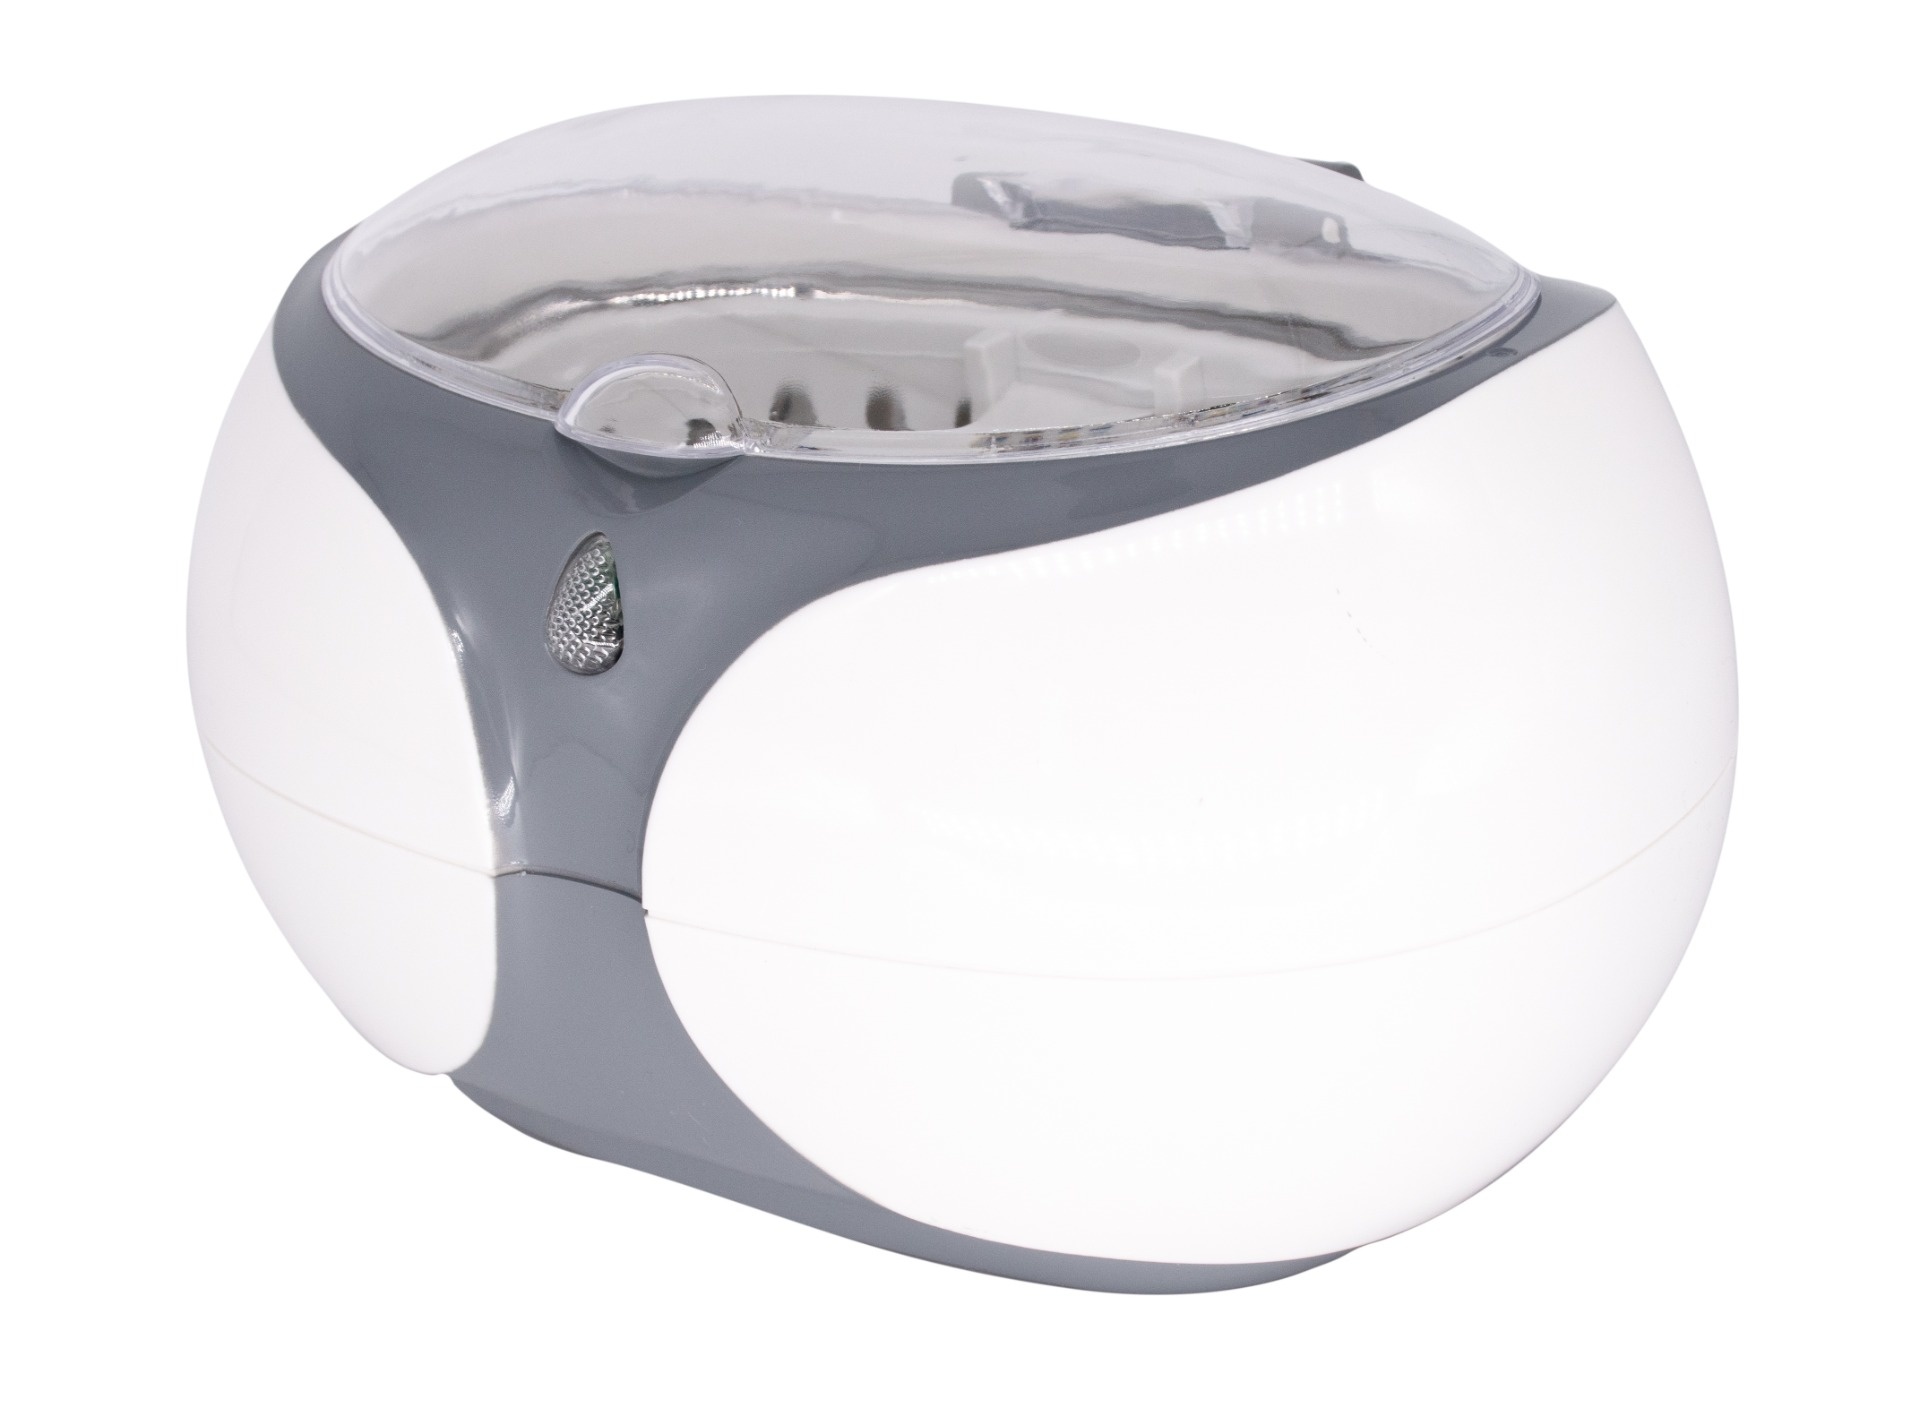
- Ultrasonic cleaner: useful for sturdy modern coins, jewellery and everyday objects. Less suitable for old coins with patina or crusts, because the vibrations can loosen the patina. Take a look at the Kapaan ultrasonic cleaner.
- Vinegar, lemon juice, cola and ammonia: also dissolve patina and metal. Your coin often ends up bare or pink. Best avoided.
- WD-40 and oil: can loosen soil a little, but soak into the coin and do not stop corrosion. Better not.
- Electrolysis: removes everything in one go, including patina and detail. Not suitable for old coins.
- Rock tumbler: a tumbler rotates your finds for hours with water and polishing media. That saves a lot of handwork on sturdy, modern coins and robust metal finds that you simply want clean. For old coins with patina or fine detail, tumbling is too rough: edges, legends and patina wear away. These are better cleaned by hand.

Frequently asked questions
How long does it take to clean a coin?
It varies a lot. A coin with loose soil is done in ten minutes. A coin with hard crusts can take several sessions, especially if you leave The Restorator on for 12 hours. Take your time.
Which cleaning pencil do I use first?
Always start with the softest: the brush end. Only move on to the cleaning pencils, scraper or fibreglass pencil when the softer pencil no longer has any effect.
Can I use the same pencils for copper and silver?
Partly. On silver, use the brush and the softer pencils, together with the silver coin cleaner. The fibreglass pencil is intended for copper and bronze.
Wax or conservation liquid: which should I choose?
Wax is easy to apply and gives a soft sheen. The conservation liquid forms a hard, transparent layer. For most coins in your collection, wax is a fine choice.
Does cleaning reduce the value of a coin?
With ordinary ground finds, cleaning is mainly about making them recognisable and enjoying them. With collectable coins, even careful cleaning can affect the value.
Get started
With a good magnifier, a coin holder and a set of cleaning pencils you can get a long way. If you clean finds regularly, the Restoration Set XL gives you everything in one go.
Want to clean your own finds? Browse our cleaning pencils, magnifiers and complete sets for cleaning and storing your finds.


